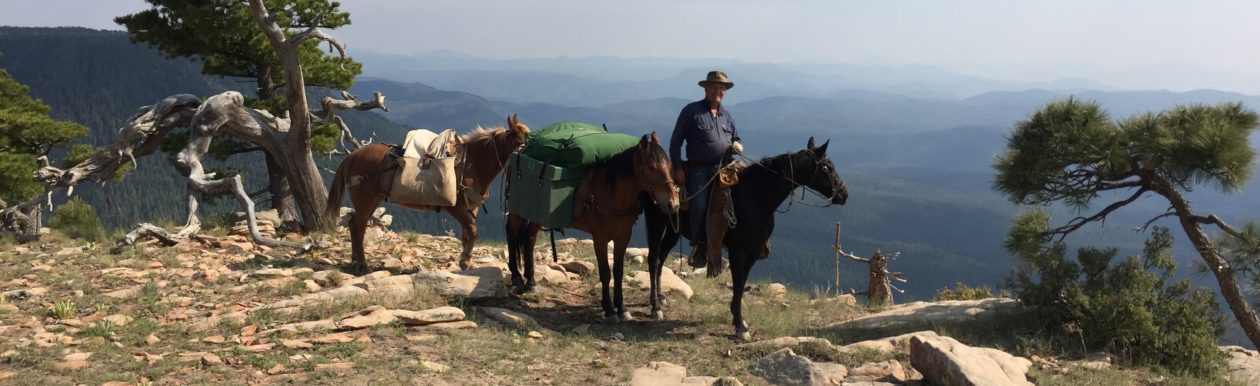

Several years back, my dad and I were out on a two-week horse pack trip in central Arizona, up on the Mogollon Rim. At night, we would allow some of our five-horse string to graze, while the others were tied. While none of our horses ever left us, they often moved around quite a bit while grazing. It didn’t take too many nights for rub sores to start developing on their pasterns from the 1-1/4″ nylon flat-braid hobbles. Those hobbles were well-used and soft, but still left marks on the horses. We tried fastening the hobbles tighter and putting them up on their cannon bones, but no matter what we tried, they always ended up down on their pasterns making sores.

One afternoon, as we were moving along the Arizona Trail, somewhere between Flagstaff and the Rim Road above Payson, Dad stopped and picked up a piece of soft braided nylon rope he found alongside the trail. That evening in camp, Dad took a few minutes and tied that piece of rope into a couple pairs of hobbles. He tied them so they would hang loose around the coronet area, low on the horses’ pasterns, but wouldn’t come off the hoof. He also tied them a little long, giving the horses a little more room to take steps. We found that leaving a little extra room for movement, discouraged the horses from learning to gallop with the hobbles on. They can still do it, but generally, they seem to prefer to take small steps rather than gallop. Best of all, no more chafe sores on their pasterns.

We quickly discovered these hobbles were the best we had ever used and I’ve been using them ever since.

These homemade hobbles are easy to make. Just take two lengths of soft rope, I prefer about 3/8″ diameter nylon braided rope, 48″ long and tie them together with a few simple over-hand knots. Nothing to it!
Here’s a short instructional video I made, showing you how. It will take you all of 10 minutes…and that’s if you’re slow!
After making that video, a subscriber told me a better way to make these hobbles. Rather than starting at the ends and tying the inner knots last, he started with the inner knots first, setting the desired distance between the horse’s feet. He then moved to each end, tying those knots as desired, making the hobbles loose enough to fit loosely around the horse’s pastern, but tight enough not to be able to slip off the hoof. Also, the diameter of the rope (I suggest 3/8″ diameter soft nylon or braided utility rope) and the type of rope greatly affects the length required. Starting with two lengths, say, in the 60″ range, and starting with the inner knots first, one can tie the outer knots and then cut the ropes to the proper length.
So, there you go. Easy-peasy!

Happy Trails!
TH
You must be logged in to post a comment.