Just finished my second pair of chaps. This is a pair of Arizona Shotgun chaps, after patterns by Bob Klenda, Klenda Custom Saddlery. I’m not sure where the designation “Arizona Shotgun” came from, but it may be the fact that there is no zipper or mechanical closure. These are true shotgun chaps, with fully closed leggings, but rather than using a mechanical closure of any kind, the legs are laced permanently together with a 1/2″ leather lace. Well, they can be unlaced, if necessary, but you don’t do it every time you put them on or take them off.


 Arizona shotgun chaps are put on by turning the legs backwards, so that the toe of the boot is toward the laces, The natural bend of the leggings, as well as the way they are laced, allow the boot to slide down into the chaps easily. The leggings are then twisted around and pulled up into place, then secured with the belt.
Whereas most chaps use an assortment of hardware, buckles, snaps, rings, conchas, rosettes, etc, to hold them together and keep them in place, Arizona shotgun chaps use only one piece of hardware: a 1-1/4″ cart buckle for the belt. Of course, any similar belt buckle can be used, but the cart buckle is specified by Bob, so that’s what I used. I purchased the buckle online from Sheridan Leather. Sheridan only carries that particular buckle in solid brass, which, in my opinion, is perfectly appropriate for these chaps.
The Arizona shotguns were much simpler to make than the batwings I recently made, both from a pattern perspective, as well as from my own additional touches. Whereas on the batwings, I used 7/8 oz skirting leather for the yokes, pocket flaps, and belt parts, and then tooled them to taste, on the shotguns I used chap leather, turned rough-out, for the yokes and pocket flaps. I used an old belt blank I had for the belt parts and tooled them with a small basket weave pattern. For the chaps themselves, I used 5/6 oz oil-tanned chap leather from The Leather Guy. As before, I am very satisfied with the leather. It was exactly as described on the website. As with the batwings, everything was hand-stitched together. They went together quickly.
While the batwings pattern was coincidentally made in my size, I had to increase the upper thigh measurements for the shotguns. That was easy to do, simply by adding an inch to the side of the pattern that wraps around back of the leg. As per instructions written by Bob Klenda on the patterns, if length (outseam) must be adjusted, care must be taken to add or subtract equal parts from above and below the knee of the pattern, so that the knee of the chaps remains at the knee of the customer.
I felt like I made the legs of the batwings just a tad loose, although they were comfortable in the saddle, so for the shotguns I decided to fit them a little tighter. Once I tried them on, I wished I had given them one more inch at the upper-most thigh measurement. They are a bit snug, but still comfortable. After making two pair of chaps, I have determined that when measuring for size, one should measure the thigh measurements (upper thigh at crotch, mid-thigh, and above the knee) with a cloth tape, and it should only be pulled as snug as you wish your chaps to fit. Measure over pants you would normally wear in the saddle. A snug fit with the tape will result in a snug fit of the chaps. While chap leather will conform to the leg, even if tight, getting them on is a hassle, as you have to pull them up, then reach down and pull your pants down inside the legging, while holding the legging up at the same time. Even so, once I get my shotguns on, they are comfortable. I was able to adjust them just a little, by leaving the top lace a little loose.
All-in-all, I really like these chaps. They were easy to make, don’t have any zippers or other hardware to break, rust, or freeze up while out on the trail, and they are a little lighter than the batwings. They are very comfortable, as well.
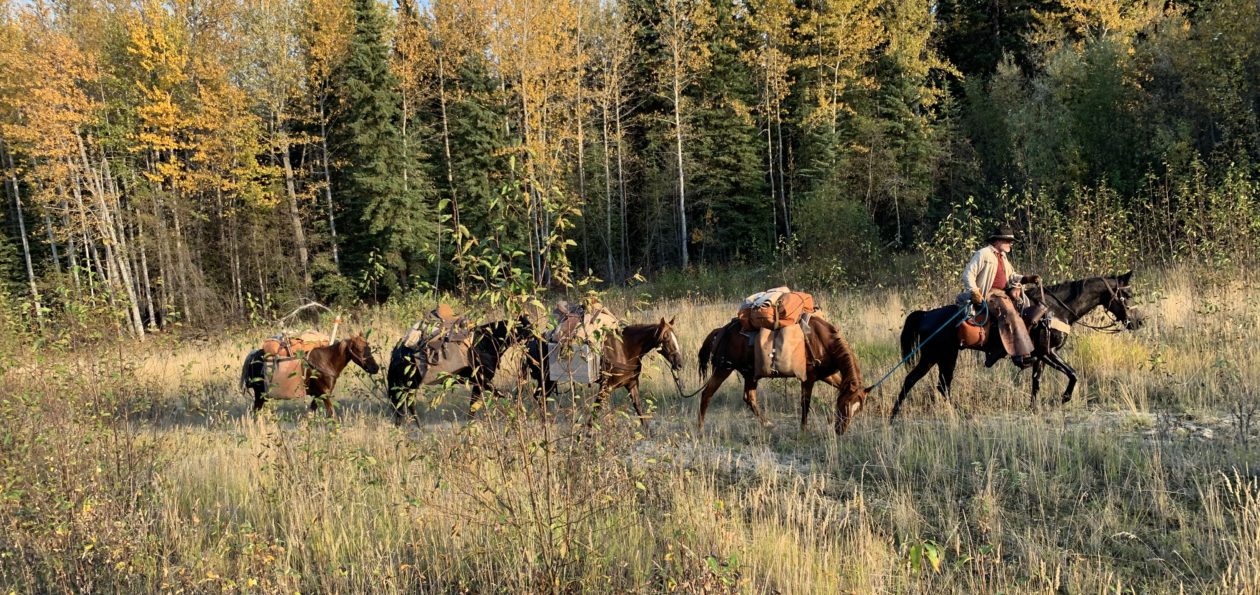
I expect I’ll be wearing these on a lot of future horse pack trips.
Happy Trails!

You must be logged in to post a comment.