
Dad and I left this morning about 6:00 am and headed south on US 191, which used to be named US 666 – and for good reason! There are turns on that road where you can read your own rear license plate! We passed one road sign that read “10 MPH NEXT 11 MILES”. Trailers over 40 feet are prohibited. However, the scenery is spectacular as you drop off the Mogollon Rim from over 9,000 feet elevation to under 3,500 feet. It was quite a ride.

On the drive we saw dozens of deer and elk, one Mexican Gray Wolf, and one very rare white mule deer doe. How great is that?! That was the first wolf I have ever seen in the wild and the only white mule deer I have ever even heard of! Click on the photo for a larger view, then zoom in on the deer. She is beautiful!
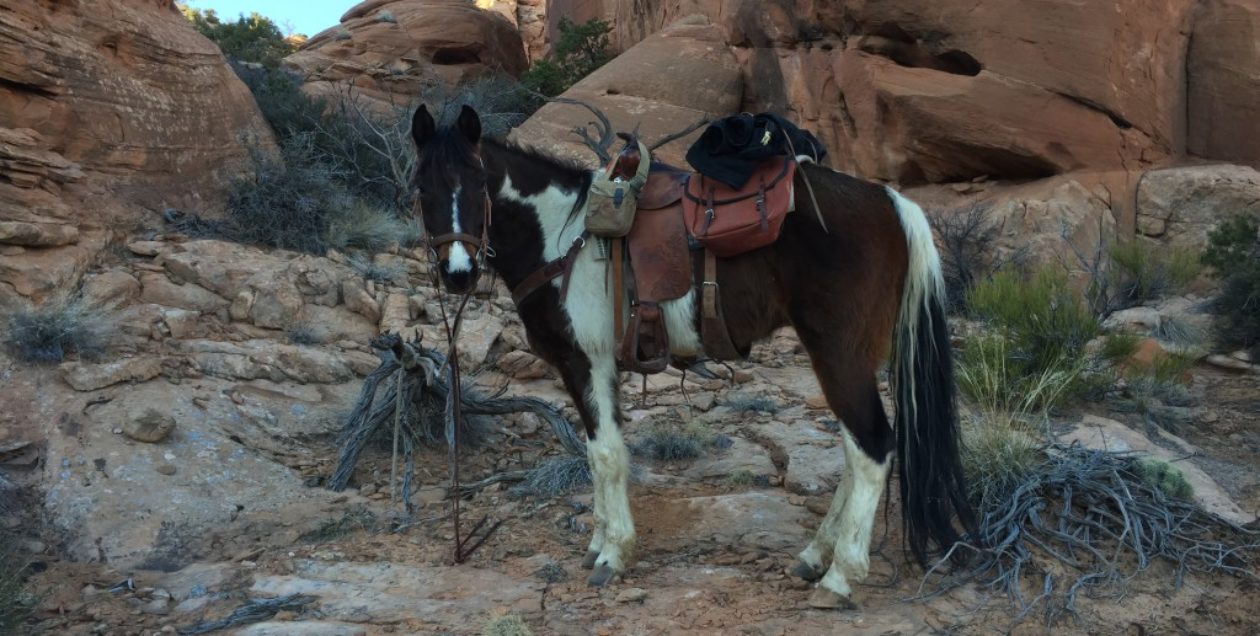
We stopped at several points on the road to look out over part of the area we will be riding through and took several pictures, which I’ll post as a gallery at the end of this post, if I can get them to upload – the Internet connection at my parents’ house is painfully slow.
We visited the USFS Ranger Station at Clifton, AZ for advice and intelligence regarding the route we were considering for that area, which was to follow the Gila river eastward to Eagle Creek and turn north, following Eagle Creek to the North Eagle Creek area. There was an area of about ten miles along that route that shows very steep terrain on the maps and we were concerned about being able to find a way through it. One of the USFS officers introduced us to Steven Najar, Arizona Game and Fish Officer, who has ridden much of that region and is very familiar with it, except that little portion we were concerned about. He informed us that he has not ridden that area simply because it may be impassable. He is familiar with all that area, except a stretch of our proposed route of about three or four miles. He indicated that the areas he was familiar with led him to believe we would be making a serious mistake taking that route. He said that in areas we would be restricted to the creek bed by the high canyon walls and that there were places where we would have to swim the river – not just cross, but swim. With pack horses, that’s a dangerous proposition at any rate.
Instead, Steve proposed that we follow the Gila River farther eastward to the confluence of it and the San Francisco River. We could follow the “Frisco” northward and have the option of turning back northwest to join the Upper Eagle Creek area or continue northward up the Blue River into the Blue Wilderness Area. He has ridden both routes and said both are easily passable with ample water sources and grass for our needs.
Since the latter route was my original plan from more than a year ago, and since the Blue Wilderness Area is one of my favorite parts of the whole world, we were easily swayed. So we are back to our original route. We are sure that was a good decision.
One warning, though, from Steve about that route: There is a stretch of the Gila River between Bonita Creek and the San Francisco river known as “The Box.” It is an area that is enclosed by canyon walls and is known for quicksand. Steve said horses have been lost in the quicksand there and urged caution. That was a good warning and we will certainly heed it. Quicksand on the Gila River is nothing to play with.
From Clifton, we drove to Safford, AZ, where we met with a US Border Patrol Agent, and his friend, whose names I do not have permission to disclose. After being served excellent BLT sandwiches (Thank you JJ) we discussed our route from the US/Mexico border to the Safford area.
The plan we settled on was that Dad and I would depart the US/Mexico border just east of Douglas, AZ, on Saturday morning and travel northward via Silver Creek and Indian Creek, cross US Highway 80 at “Dangerous Road” (that’s really its name!) and continue northward to join Texas Canyon Road into the USFS lands of the Coronado National Forests’s Chiricahua Mountains. We will continue on Texas Canyon Road to Rucker Canyon, where we will turn northeast until we come to Old Fort Rucker. We should arrive there on our third day on the trail. Our two freinds will meet us somewhere in that area. I will text them our location via Satellite text. Dad and I will rest the horses until they arrive.
We will then take Raspberry Ridge Trail northward to the Crest Trail (270B). We will follow that up to the Bootlegger area, then northwest again, eventually leaving the Chiricahuas via Emigrant Canyon. Our friends will leave us and Dad and I will continue northward, crossing Interstate 10 at Bowie, then continuing northward along a railroad track to Safford.
After our meeting, Dad and I drove into Wilcox, AZ and purchased eleven 50 lb sacks of Equidine alfalfa pellets, which we dropped off at the USBP Agent’s place on our return trip. Dad and I will have to haul our feed for the horses, as grass will be scarce along most of our route. Our friends will bring 200 lbs of feed when they join us and will leave another 350 lbs in their pickup. When we reach their truck at Emigrant pass, we will take as much feed as we need to reach Safford, then on we will go. Our freinds will take the remaining feed to the agent’s house, where we will make a stopover before reaching Safford. There we will re-supply before heading on north to the Gila River.
Our next major stop from there will be the home of a friend who lives on a private parcel inside the Blue Wilderness Area. As indicated above, our route will take us from Safford, AZ, eastward following the Gila River to the San Francisco River, then northward up to the Blue River. We will follow the Blue northward into the Blue Wilderness Area and on up the river to our friend’s place.
At our friend’s place we will again re-supply and probably be joined by a couple of other riders from among our family and friends in Eagar, AZ. We will rest up a couple of days before heading up the Mogollon Rim via either KP Mesa Trail or Grant Creek Trail (whichever appears to be more passable after the recent forest fires), reaching the end of the first leg of our trip at Eagar, AZ about three days later.
We expect this first leg of the trip to take us about three weeks and will cover approximately 300 miles of some pretty rough country. If we and our horses survive this leg of the trip, we should be in good shape to continue the second leg of the trip, from Eagar, AZ to Panguitch, UT, about 700 miles, as close as I can figure, making the total mileage of our pack trip at least 1,000 miles.
I am anxious to see just how close to reality my distance estimations are. The GPS will tell us the true mileage.
Stay tuned for more!


You must be logged in to post a comment.